
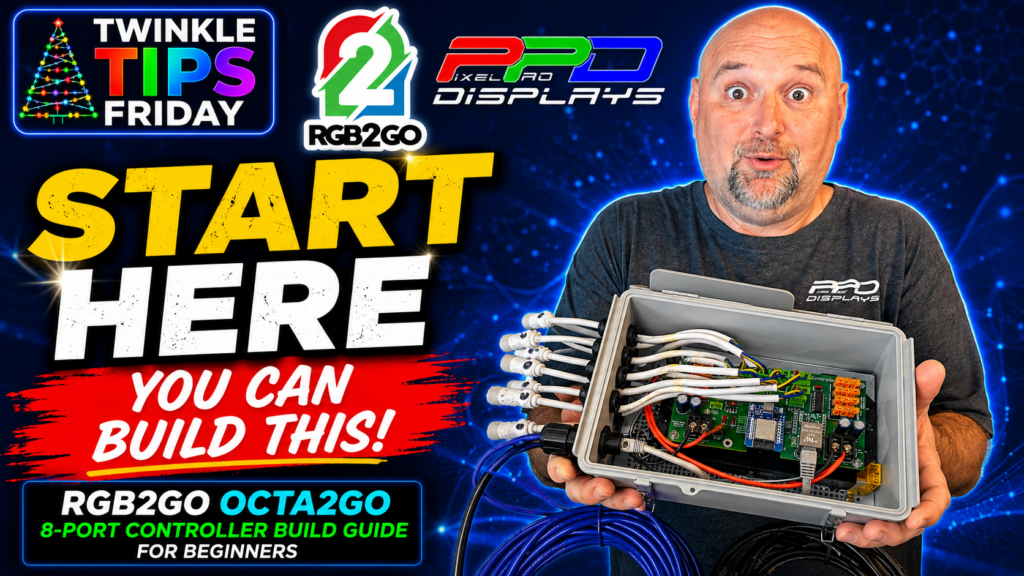
Introduction: The RGB2Go Octa8 controller build
Building your first RGB pixel controller is one of the biggest milestones in the Christmas lighting hobby, and today we're using the RGB2Go Octa8 Controller to demonstrate this. Once you've assembled your first controller, you'll better understand how your entire display works and gain the confidence to tackle larger projects.
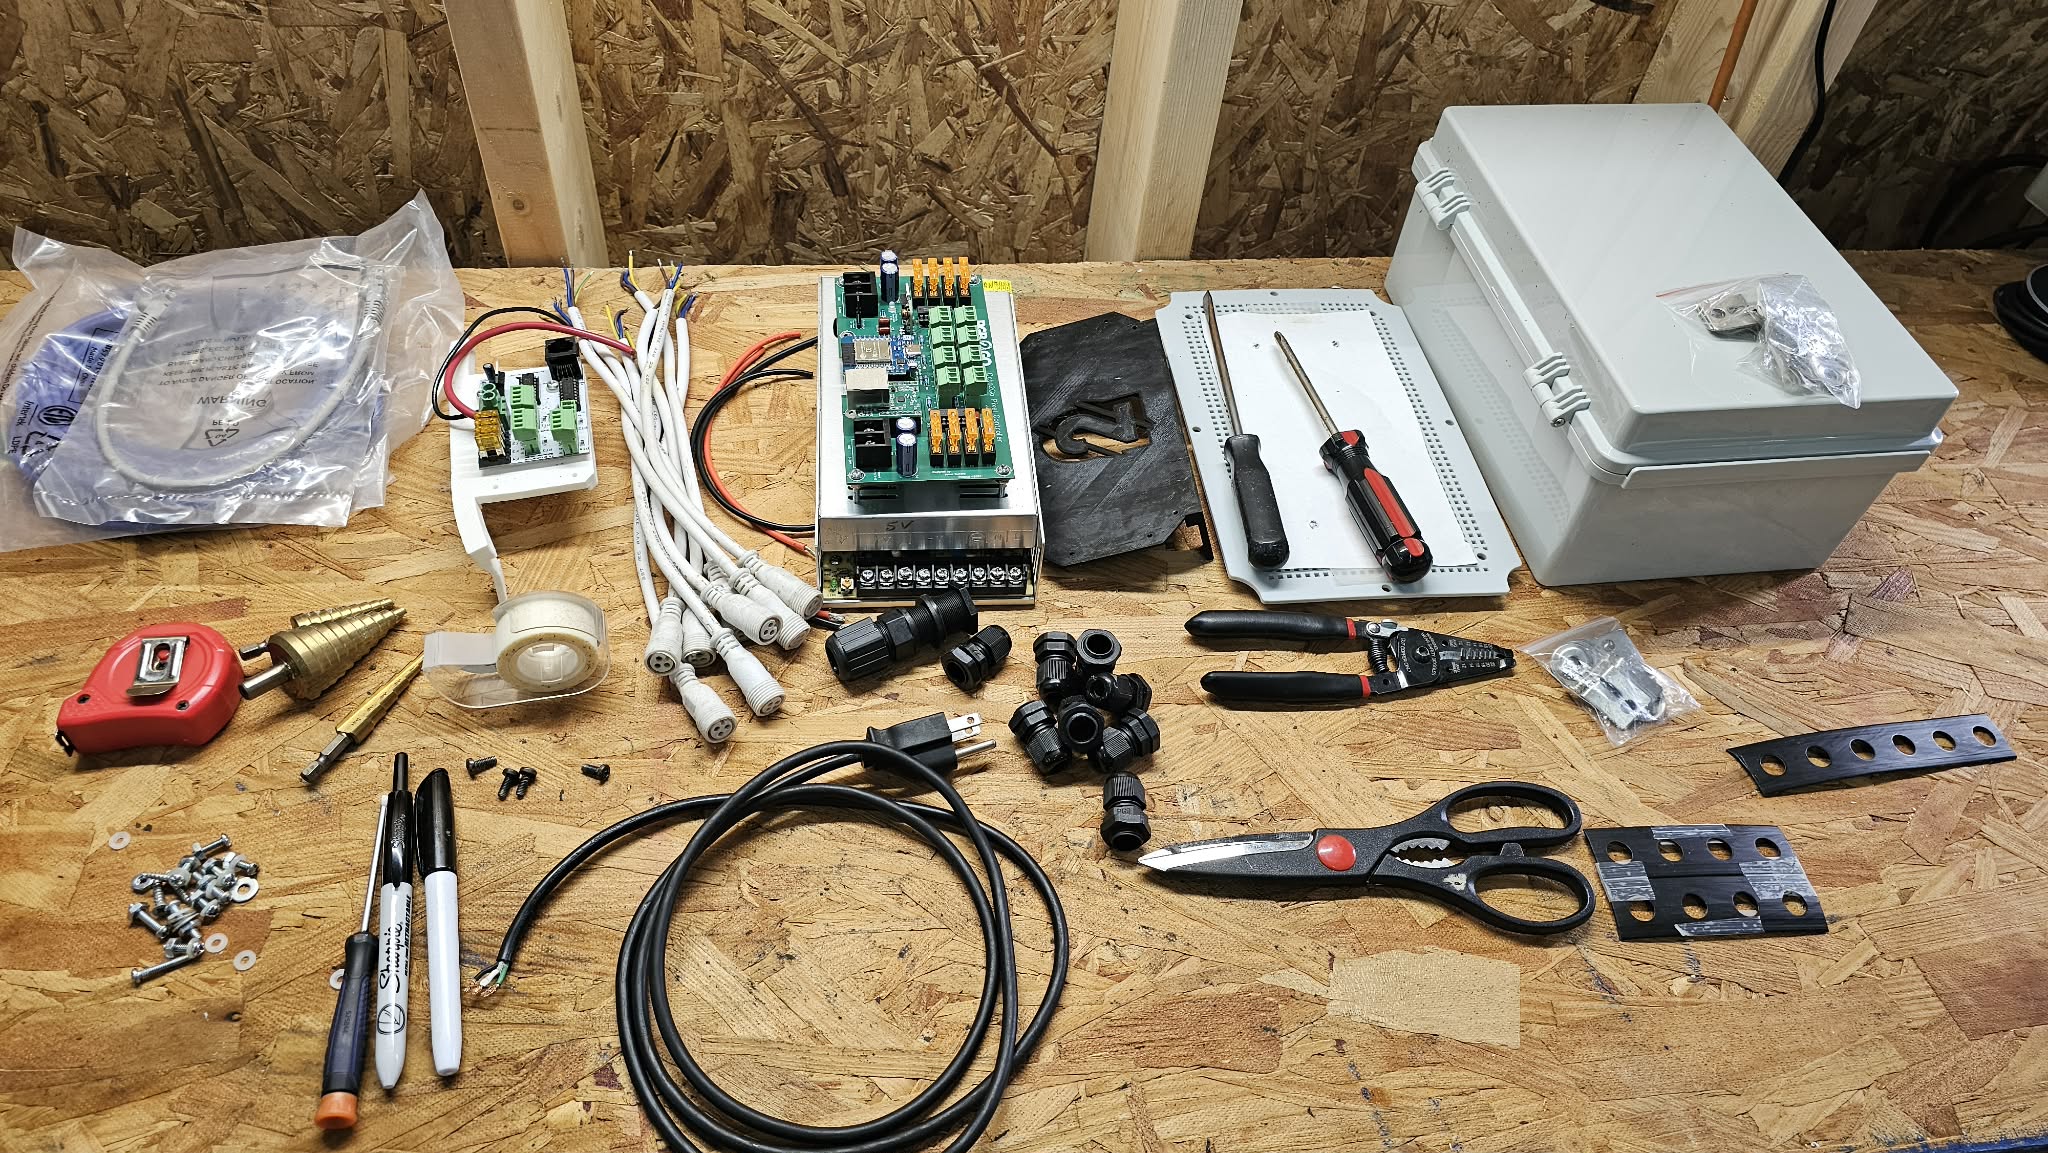
In this Twinkle Tips Friday guide, we'll build an RGB2Go Octa8 Controller from the ground up. Rather than simply showing where every screw goes, we'll explain the thought process behind planning the enclosure, organizing the wiring, and creating a controller that's easy to install, maintain, and expand in the future.
Whether this is your very first controller or you're adding another enclosure to your display, these techniques will help you build with confidence.
New to RGB lighting? Before starting this project, we recommend reading our How to Build Your First RGB Pixel Controller guide, where we explain the basics of controllers, power supplies, and enclosure planning.
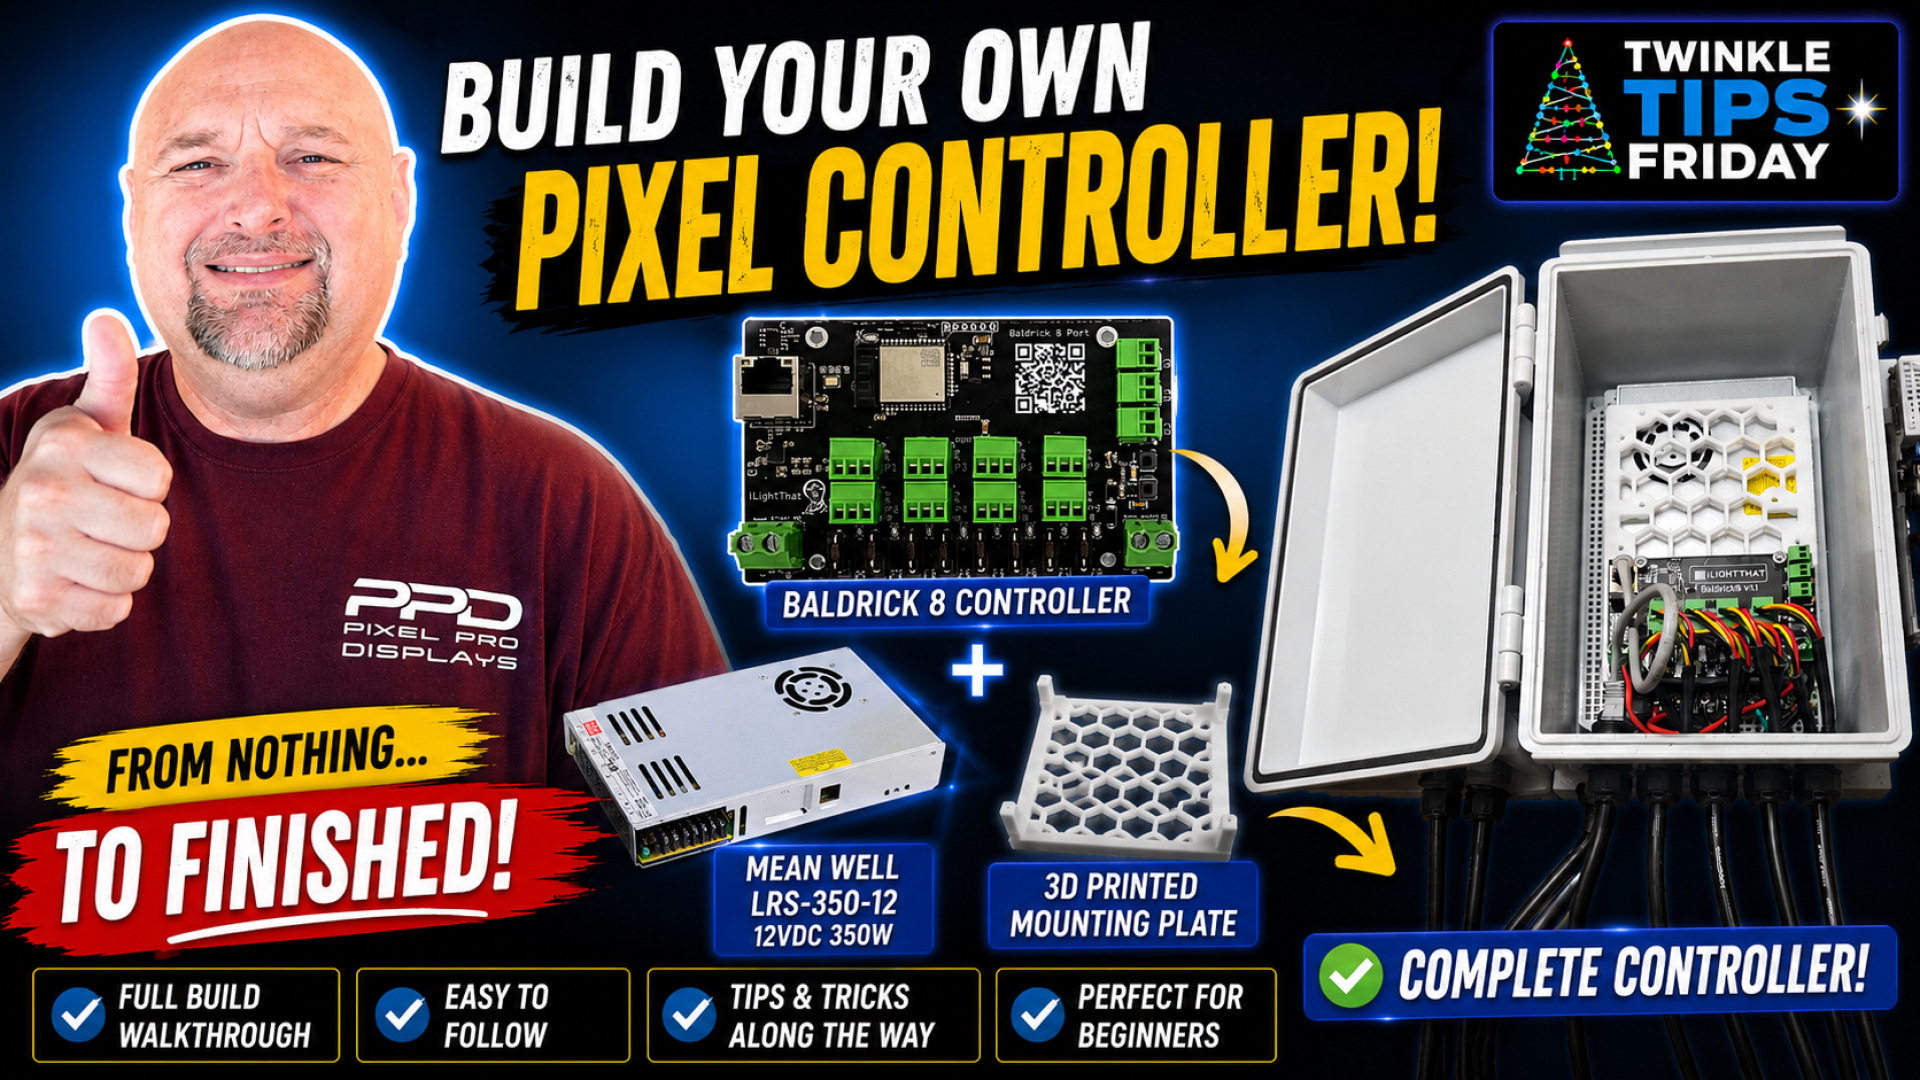
Components Used in RGB2Go Octa8 Build
Before picking up a drill, it's helpful to understand what each component does and why it's included.
- RGB2Go Octa8 Controller
- Mean Well LRS-350-12 Power Supply
- 3D Printed Mounting Plate
- Weatherproof Enclosure PVC Backer Board
- Eight Pixel Pigtails
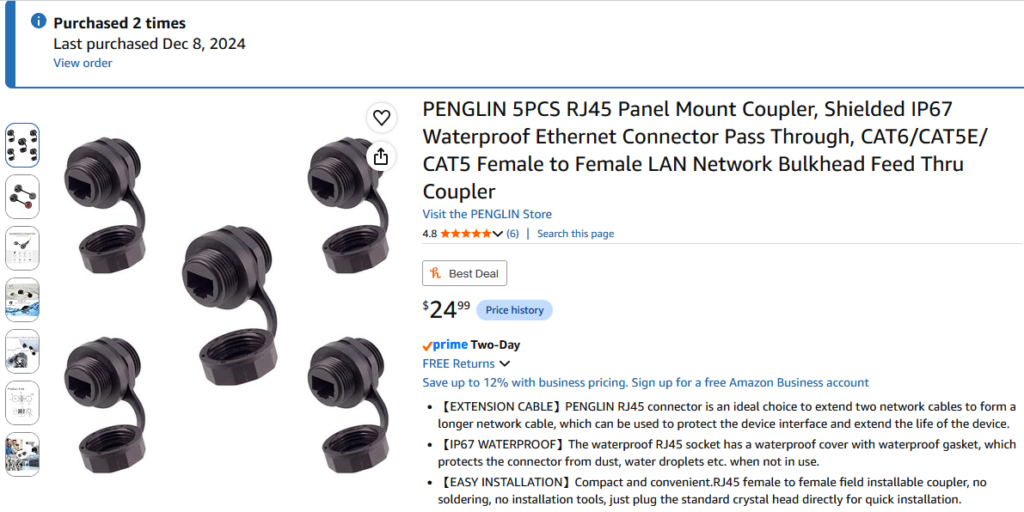
- RJ45 Network Pass-through
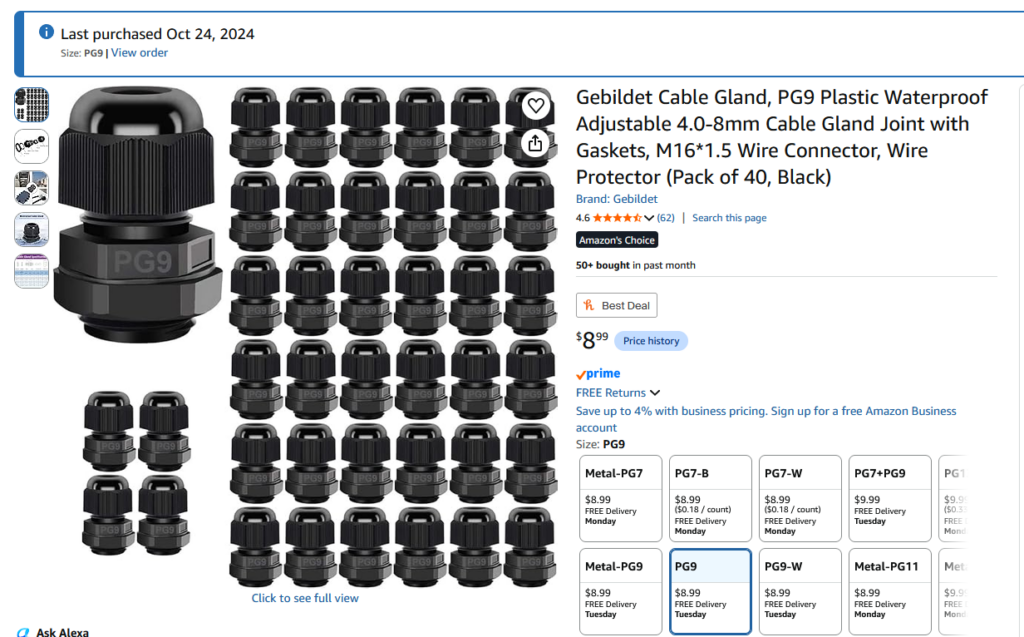
- PG9 Cable Glands
- AC Power Cable Gland
- 14 AWG Copper Wire
- Mounting Hardware
While your exact hardware may vary, the planning techniques shown in this guide apply to almost any controller enclosure.
Tools You'll Need
Having the right tools makes the build easier and helps produce cleaner and consistent results.
Recommended tools include:
- Drill
- Step Drill Bits small and large
- Phillips Screwdriver
- Flat Screwdriver
- Wire Strippers
- Tape Measure
- Marker
- Scissors
- Small Wrenches or Nut Drivers
- Paper for Creating Templates
Why the RGB2Go Octa8?
This controller is compact eight-output pixel controller. Jason designed it for hobbyists who want a straightforward controller that's easy to build and maintain.
For many decorators, eight outputs provide plenty of flexibility for a small to medium-sized display while keeping the enclosure compact and organized. As your show grows, you may find a larger controller may come in hand, replacing the location where you're using the Octa8. That's okay! Your Octa8 is now free to use for other areas to expand into without spending more money with a future addition. Remember, it's okay to have a backup controller!
This article focuses on the Octa8. Lessons found here are universal, you can apply them to any controller build.
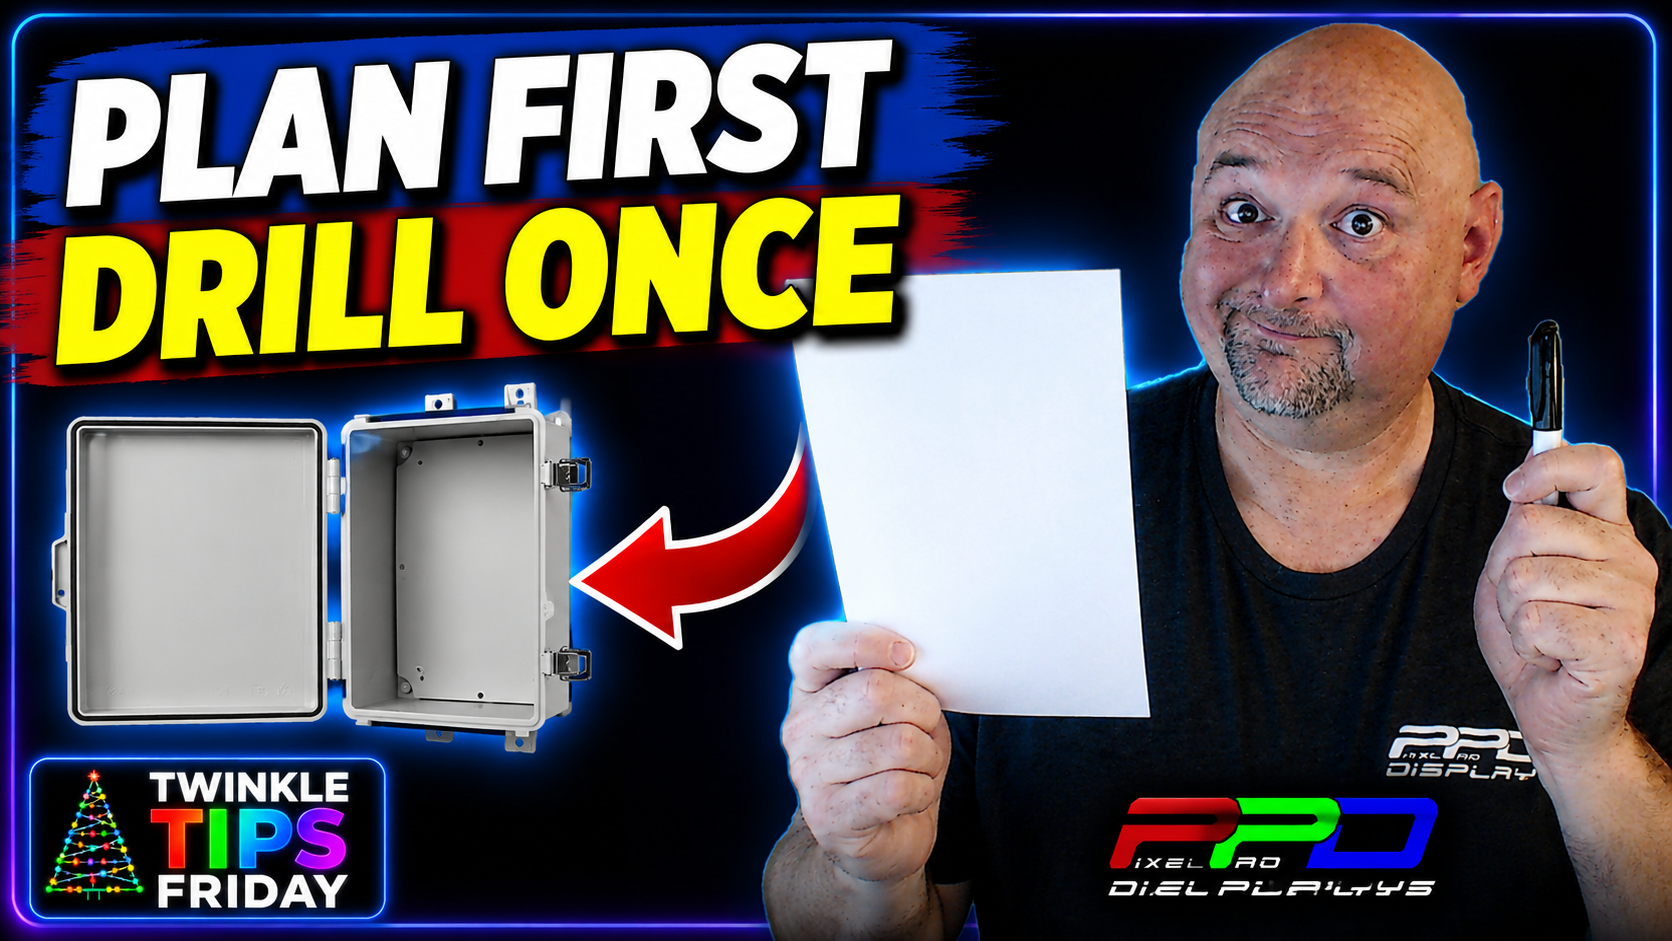
Plan Your Layout Before Drilling
One of the most valuable lessons in this build has nothing to do with wiring.
Before drilling any holes, spend time planning:
- Where the power supply will sit?
- How will you mount the controller?
- Which direction each pigtail should exit.
- Where AC power or the network cable enter the enclosure.
- How will you access everything later if maintenance is required.
Thinking ahead often prevents having to enlarge holes or relocate components later.
Create a Mounting Template
Guessing where components belong is a bad idea. Create a simple paper template.
This allows you to:
- Verify spacing.
- Check screw locations.
- Ensure the enclosure lid will close properly.
- Avoid accidentally blocking mounting screws.
It's a simple step that can save a lot of frustration.
Related Reading: Creating a Controller Backer Board Template
Building with Future Maintenance in Mind
An experienced builder doesn't just think about today's project. Clyde suggest that you think about your next season.
Can you easily drop in a replacement controller? Controller can break down, be ready with a spare.
Are the cable connection inside the box easily identifiable on the outside of the controller? You'll want to use some sort of labeling system.
One thing that Clyde remarked in his original video on building your First Pixel Controller, was the offset of the screw that held down the backer board. The power supply placement was slightly off and it covered 2 mounting screw positions.
A little extra planning now can make future upgrades much easier.
Wiring the RGB2Go Octa8
As with any controller build:
- Use quality copper wire.
- Make secure terminal connections.
- Route wiring neatly.
- Leave enough slack for future maintenance.
Make sure you pay attention to wire color, terminal labels, and voltage jumper alignments (5v or 12v). The Rgb2Go Octa8 controller can run both 5v and 12v pixels. Insure your controller's jumper is set correctly before powering on and connecting your pixels.
Routing the wiring efficiently and with enough slack can help make servicing the controller easier.
Waterproof Every Connection
Since controller enclosures spend months outdoors, weather protection is essential.
Cable glands serve several important purposes:
- Keep moisture out.
- Provide strain relief.
- Protect wiring from sharp edges.
- Keep insects and debris from entering the enclosure.
Taking time to install cable glands correctly will improve the long-term reliability of your controller.
Label Every Output
We LOVE this part. Labeling each output is one of the best habits you can develop.
Clear labels make it much easier to:
- Connect props during setup.
- Troubleshoot wiring issues.
- Identify errors when setting up your show (helpful neighbors?)
- Expand your display later.
Many experienced decorators will tell you that proper labeling saves hours every year.
Beginner Tips
Most first-time builders encounter the same challenges. Fortunately, they're easy to avoid.
Clyde's Tips
- Drilling before planning the layout.
- Forgetting cable glands or pigtails.
- Using wire that's too small.
- Blocking mounting hardware.
- Skipping cable labels.
- Rushing through the wiring process.
- Not testing the fit before tightening everything.
- Hiding or burying the power supply deep in a build.
Watch the RGB2Go Octa8 Complete Build
The companion Twinkle Tips Friday video walks through the complete RGB2Go Octa8 build from start to finish.
Watch the full video below.
FAQs
- Is the RGB2Go Octa8 good for beginners?
Yes! The Octa8 controller runs from WLED firmware. You can do this simple setup through your cell phone or PC
- What enclosure should I use
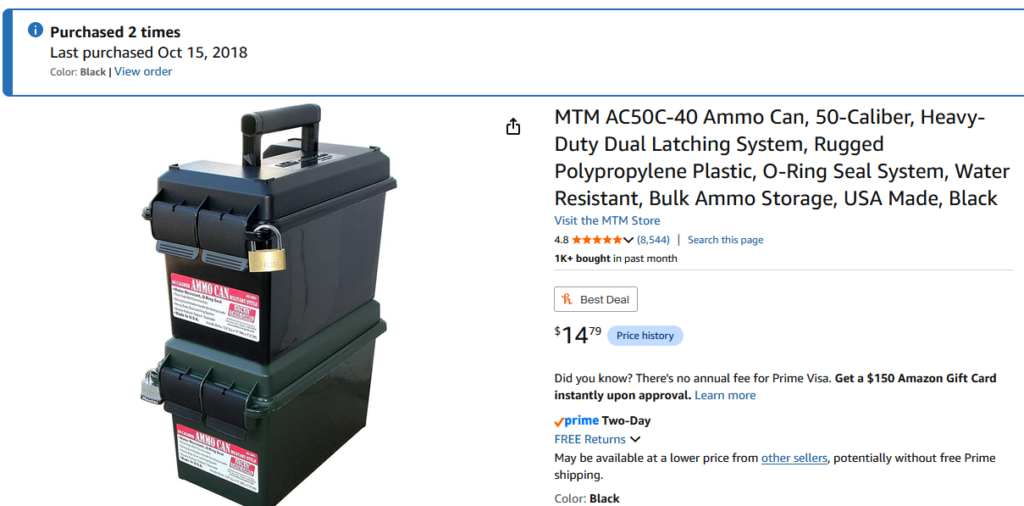
BudBoxes and MD-1500's are the most common and desirable box. Boxes used in this build are known as Demarkation Enclosures. Some hobbyists use Ammo Cans (like the MTM AC50C-40 seen below). You can see them in the video as well. They are large enough to hold 2 power supplies stacked and mount a 16 port controller on the top... along with 16 pigtail outputs.
- What power supply should I buy?
Clyde suggests you order the MeanWell LRS 350-12 of the LRS 600-12. These are the gold-standard when it comes to controller building. Some of those have been used for 15 seasons or more. He's only experienced 3 generic power supply failures over the past 19 years of this hobby k
- Can I use 5V or 12V?
12v has become the hobby standard. You're welcome to use 5v pixels if you like. Clyde uses both
Continue Learning
Introduction to the Octa2Go Controller, a first look
3D Printable Octa8 Power Supply mount STL (as seen in the video)
Making a Controller Mounting Template
RGB2Go 3D Printable Files from the RGB2Go website
How to Label Pixel Controllers for Easier Maintenance