
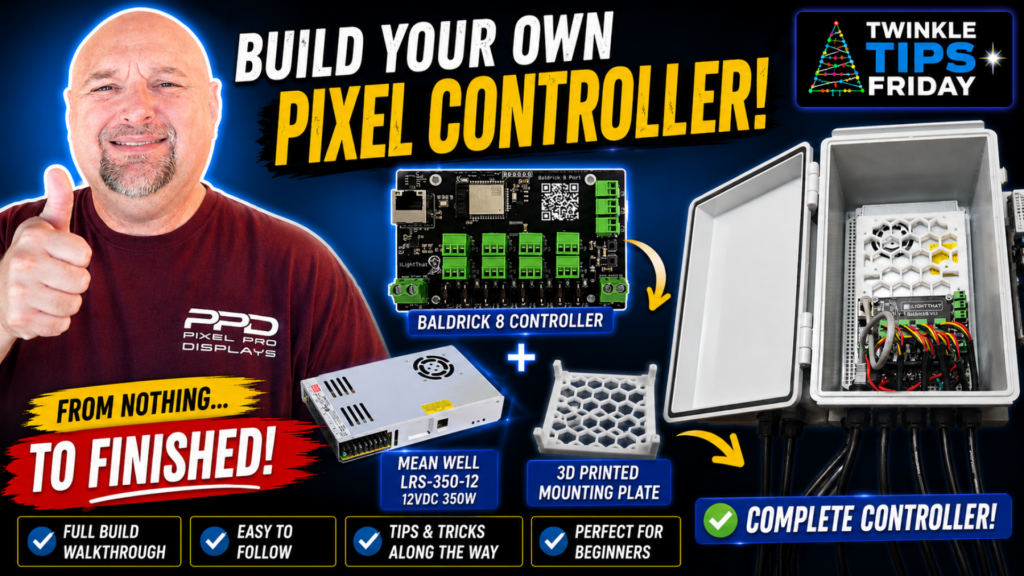
How to Build Your First Pixel Controller for RGB Lighting
If you're just getting started with RGB pixel lighting, building your first pixel controller can seem intimidating. Between power supplies, cable glands, network connections, and wiring terminology, it's easy to wonder where to even begin.
The good news is that building a controller is much simpler than it first appears.
In this Twinkle Tips Friday tutorial, we walk through building a complete Baldric 8 pixel controller inside a weatherproof enclosure. Along the way, you'll learn not only how to assemble the controller but also why each component is important.
Whether you're planning your very first Christmas display or expanding an existing show, this guide will help you understand the basics with confidence.
What Is a Pixel Controller?
A pixel controller is the "brain" of your lighting display. It receives data from your show computer or player and tells each pixel exactly what color and brightness to display.
Without a controller, your RGB pixels can't perform animations or synchronized effects.
If you're new to the hobby, think of the controller as the translator between your sequencing software and your lights.
Related Reading: xLights Pixel Controller Options
What You'll Need
For this build, we used:
- Baldric 8 Pixel Controller
- Weatherproof enclosure
- Power Supply
- SFL Designs dual-controller mount
- Pixel pigtails
- RJ45 network pass-through
- AC power cable gland
- PG9 cable glands
- Mounting hardware
- 14 gauge Copper wire
You don't necessarily need these exact parts, but understanding what each one does will help you build almost any controller enclosure.
Related Video Short: Pixel Controller Parts Explained
Planning the Layout
One of the biggest mistakes beginners make is mounting components before deciding where everything should go.
Before drilling a single hole, think about:
- Power supply location
- Controller placement
- Pixel cable exits
- AC power entry
- Network cable entry
- Future maintenance
Taking a few extra minutes here can save a lot of frustration later. Identify where cable will eventually run once connected. Then you can begin laying out your cable entry points.
Mounting the Power Supply
In the video, Clyde demonstrates a simple trick using a piece of paper as a template. Then he attaches the template backer board before drilling holes.
It's a small detail, but it helps ensure the power supply lines up correctly and reduces the chance of drilling in the wrong location.
Simple techniques like this make the entire build go much smoother.
Organizing Your Pixel Outputs
Instead of randomly installing pigtails, Clyde uses the top-bottom approach as found on the pixel controller board. He mimics the placement of the pigtails and wires it up similarly to the actual controller. The template makes it easy to mark out and drill the holes at so each output is evenly spaced.
Clyde uses some left-over Boscoyo strip material and cuts it down... stacking two strips of four to create a template. Placing this template over the box, he can trace out the holes to drill out
Outputs1 through 8 are now well organize which makes troubleshooting much easier later.
A few extra minutes during assembly can save hours once your display is outside.
Related Reading: How to Label Pixel Controllers for Easier Maintenance (Internal Link)
Wiring Your Controller Safely
Once all of the major components are mounted, it's time to begin wiring the controller. This is one of the most important parts of the build because a properly wired controller is both reliable and safe.
Throughout the video, Clyde emphasizes taking your time and making clean, secure connections. Loose wires can create intermittent problems and, in extreme cases, generate enough heat to damage components.
For builders in the United States, the standard AC wiring colors are:
- Black = Line (Hot)
- White = Neutral
- Green = Ground
Always double-check your wiring before applying power, and if you're not comfortable working with household AC voltage, seek assistance from someone with electrical experience.
Why Cable Management Matters
One of the easiest ways to make your controller easier to maintain is by keeping the wiring neat from the very beginning.
A well-organized enclosure isn't just about appearance, it makes future troubleshooting much easier. If you ever need to replace a pigtail, replace fuses, or troubleshoot a wiring issue, you'll appreciate taking the extra time during the initial build.
Simple habits such as routing wires neatly, bundling cables, and leaving a little extra wire for future updaes can save hours of frustration later.
Label Everything
As your display grows, you'll quickly discover that every controller starts looking the same.
That's why Clyde labels each output from 1 through 8 before closing the enclosure build. He is using his own homemade 3D printed Cable Labels. These visual clips make it much easier to identify which output is associated to the controller inside the box. Imagine the time you'll save. You won't need to open up the enclosure and trace cables to insure they are routed to their proper port on the main control board.
A few inexpensive cable labels today can save a lot of time during setup and troubleshooting. If you would like to try using the same 3D printed cable labels Clyde, click here to download them.
Why We Chose the Baldrick 8
There are many excellent pixel controllers available today, and the Baldrick 8 is just one option. For this tutorial, it was selected because it's an affordable, beginner-friendly controller that offers enough outputs for many first-time displays while still leaving room to grow.
The concepts demonstrated in this article apply to almost any pixel controller, regardless of manufacturer. Planning your layout, mounting components, wiring safely, and organizing cables will solve the majority of issues you will find when building an animated light show.
The goal isn't simply to build a Baldrick 8. It's to understand the fundamentals of building any pixel controller enclosure.
Common Beginner Mistakes
Everyone makes mistakes on their first controller build. Fortunately, most of them are easy to avoid with a little planning, some patients, and being mindful of the build process. Some of the most common include:
- Drilling enclosure holes before planning the layout.
- Forgetting to order pigtails or cable glands.
- Using wire gauge that is too small for the application.
- Failing to label outputs.
- Mounting components too close together, making future maintenance difficult.
- Rushing through AC wiring without checking each connection.
- Insuring that all pigtail connections to the removable pluggable connection are very tight
Remember, building a controller isn't a race. Taking your time almost always leads to a cleaner, more reliable finished product. This controller build took well over 4 hours to record. Great care was put into insuring completeness, and a fast-build controller can breed too many mistakes you'll likely feel during your setup when things aren't quite going right.
Watch the Complete Build
Reading about the process is one thing, but seeing each step completed makes everything much easier to understand.
In this Twinkle Tips Friday episode, Clyde walks through the complete build from an empty enclosure to a finished Baldrick 8 controller. Along the way, he shares practical tips and explains why each step is performed, making this an excellent resource for first-time builders.
Continue Your Controller Build Journey
Building your first pixel controller is one of the most rewarding milestones in the RGB lighting hobby. Once you understand how the enclosure, power supply, controller, and wiring work together, you'll have the confidence to tackle larger displays and more advanced projects.
Remember, every experienced decorator built their first controller at some point. Take your time, ask questions, and don't be afraid to learn as you go. Each project builds on the last, and before long you'll be helping the next newcomer get started.
Continue Learning
If you found this guide helpful, you may also enjoy these Twinkle Tips Friday tutorials: