
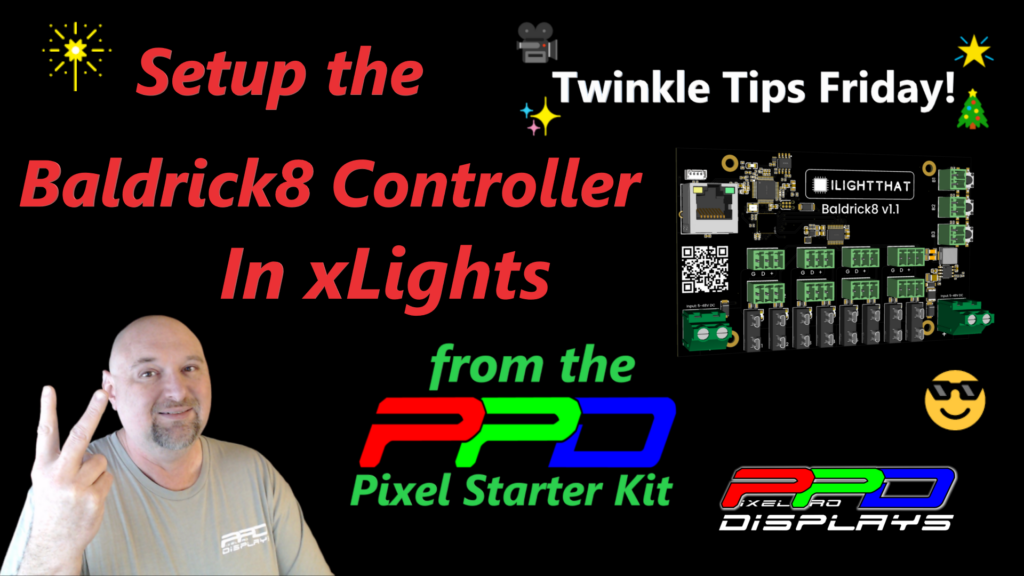
Getting Started with xLights — How to Configure a Baldrick 8 Controller
How to Connect Your Baldrick 8 Starter Kit to xLights
Building your first RGB controller is exciting, but seeing your pixels respond inside xLights is where the real fun begins.
After assembling the Baldrick 8 Starter Kit, the next step is connecting everything to your network, configuring the controller inside xLights, and sending your very first effects to real pixels.
In this video, Clyde from Pixel Pro Displays walks beginners through the entire process—from plugging in the controller to seeing pixels light up with effects like Butterfly and Single Strand. If you're new to RGB lighting, this guide will help simplify the setup process and get your first controller talking to xLights.
What You'll Need Before Starting
Before diving into xLights, make sure you've already completed the controller assembly covered in Part 1.
Your starter kit should include:
- Baldrick 8 Controller
- 12V Power Supply
- Two strings of EZRGB Pixels
- Two pixel extension cables
- Pixel pigtails
- Power wiring (from power supply to the controller)
- AC power cord
You'll also need an Ethernet network cable (RJ45/Cat5e) to connect the controller to your home network. Clyde points out that many people already have one of these cables lying around from an old router or modem.
Powering Up the Baldrick 8
Before connecting to xLights, it's important to verify all of your wiring connections.
Clyde reviews the key connections:
- Red wires connected to voltage positive
- Black wires connected to voltage negative
- Green wire connected to ground
- White wire connected to neutral
- Black AC wire connected to line/load
Taking a few minutes to double-check these connections can save a lot of troubleshooting later. Once everything looks good, it's time to power up the controller.
Connecting the Controller to Your Network
The Baldrick 8 communicates with xLights through your home network.
After connecting the Ethernet cable, you'll notice activity lights beginning to flash near the network port. These LEDs indicate the controller is communicating with the network and ready for configuration.
For many beginners, networking can seem intimidating, but this part is actually quite simple. Once the cable is plugged in, the controller will typically receive an IP address automatically from your router.
Finding the Controller in Your Web Browser
One of the first things Clyde demonstrates is connecting to the controller through a web browser.
Simply enter:
baldrickboard.local
into your browser's address bar. This allows you to access the Baldrick setup page and view information about the controller.
From there, you can locate the IP address assigned by your router.
In Clyde's example, the controller received:
192.168.1.54
However, your address will likely be different depending on your network. The important thing is learning where to find it.
Once you know the IP address, you can access the controller directly using that address anytime.
Adding the Baldrick 8 to xLights
Now it's time to jump into xLights.
Starting with a blank show directory, Clyde demonstrates how to add a new Ethernet controller.
The process is straightforward:
- Open the Controllers tab.
- Add a new Ethernet controller.
- Select Baldrick as the vendor.
- Select Baldrick 8 as the model.
- Enter the controller's IP address.
- Save the configuration.
At this point, xLights begins attempting to communicate with the controller.
The Green Light Moment
One of the most satisfying moments in the entire setup occurs when the controller indicator changes from red to green.
As Clyde points out:
"It's now talking and communicating with the Baldrick 8 controller."
That green indicator means:
- The controller is online
- xLights can see the controller
- Communication is working correctly
- You're ready to start configuring outputs
For beginners, this is often the first major milestone in their RGB journey.
Creating Your First Pixel Models
With communication established, the next step is creating some simple models.
Clyde creates:
String One
- Single line model
- 100 pixels
String Two
- Single line model
- 100 pixels
These models represent the two pixel strings included in the starter kit.
Creating models is how xLights knows what pixels exist and where effects should be sent.
Assigning Pixels to Controller Outputs
After creating the models, Clyde returns to the Controllers tab and maps each string to a physical output.
The assignments are simple:
- String One → Output 1
- String Two → Output 2
xLights makes this easy through a drag-and-drop interface, allowing you to visually assign models to controller ports.
Uploading the Configuration
Many beginners stop after creating models, but one critical step remains.
The controller needs to receive the configuration from xLights.
Using the Upload Outputs function, Clyde sends the configuration to the Baldrick 8. Once xLights reports:
Output Upload Complete
the controller is fully configured and ready to run pixels.
Connecting the Pixels
With the controller configured, it's finally time to connect the actual pixel strings.
Clyde demonstrates the difference between the male connectors on the controller and the female connectors on the pixel strings.
Once connected, everything is physically ready for testing.
Sending Your First Effects to the Lights
Now comes the fun part.
Inside a new xLights sequence, Clyde demonstrates several simple effects to verify everything is working.
On Effect
The first test uses a simple On effect with a red color.
After enabling Output to Lights, both pixel strings immediately illuminate.
Butterfly Effect
Next, Clyde applies a Butterfly effect to one of the strings, creating colorful animated patterns.
Single Strand Effect
The second string receives a Single Strand effect with multiple chases and color combinations.
By the end of the demonstration, both strings are displaying different effects and colors, proving the entire system is working correctly.
Why This Step Matters
Many people can assemble a controller.
The real confidence boost comes when you successfully connect that controller to xLights and watch actual pixels respond.
This video bridges the gap between hardware and software, showing that the process is much easier than many beginners expect.
By breaking the setup into small, manageable steps, Clyde helps remove the fear that often keeps people from getting started with RGB lighting.
Learning xLights One Step at a Time
One of the biggest advantages of the Pixel Pro Displays Starter Kit is that it teaches both hardware and software together.
Instead of trying to learn everything at once, you're building knowledge piece by piece:
- Controller assembly
- Power connections
- Networking basics
- xLights controller setup
- Model creation
- Pixel testing
Before long, you're creating your own effects and running your first light show.
A Huge Milestone for New Hobbyists
Every advanced RGB display started exactly here.
A controller on a workbench.
A couple strings of pixels.
A first successful connection.
A few simple effects running across the lights.
The Baldrick 8 Starter Kit and this xLights setup walkthrough make that first success much easier to achieve.
If you've been wanting to learn RGB lighting and xLights, this is one of the best ways to get started while building confidence every step of the way.
https://youtu.be/U4NGIXXcDNY?si=aPbs4q-gzxySiE3v